Photo Galleries
ClustersCometsEventsGalaxies |
LunarMilky WayNebulae |
Sky |
SolarSolar SystemTripsWhen Things Go Wrong |
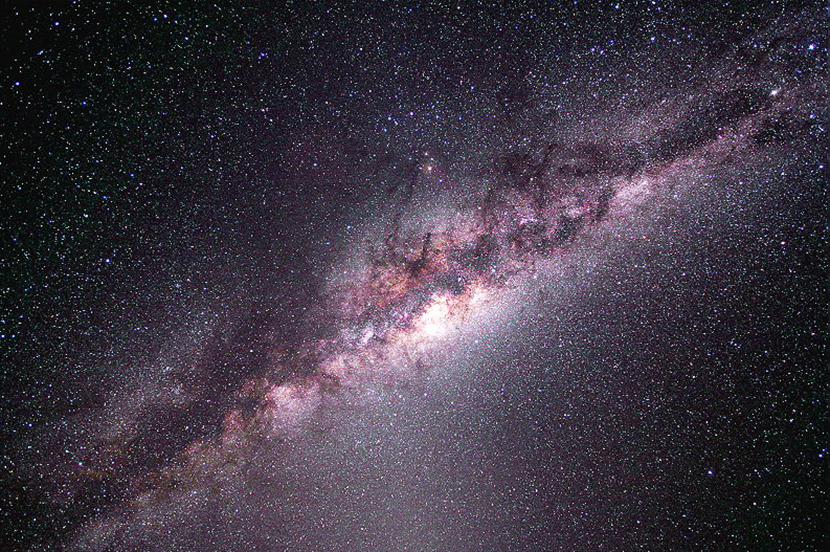
Milky Way 10 mm f6 |
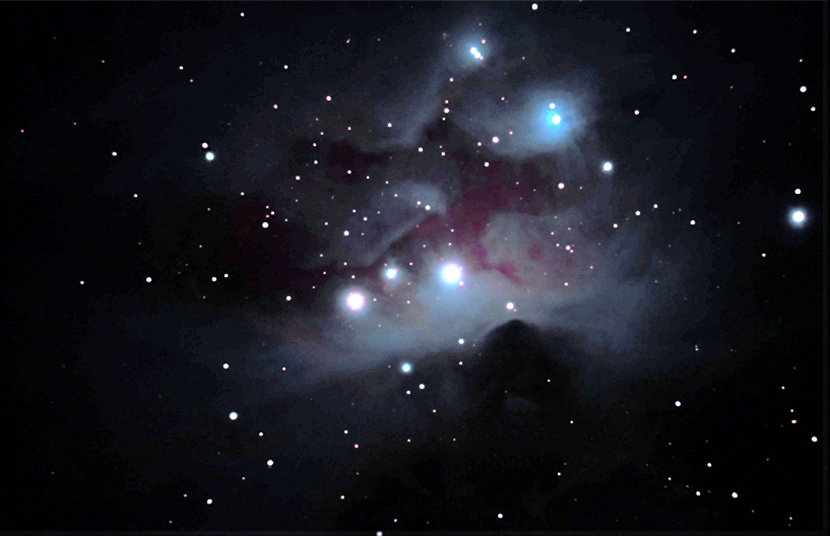
NGC 1977 (Running Man) |
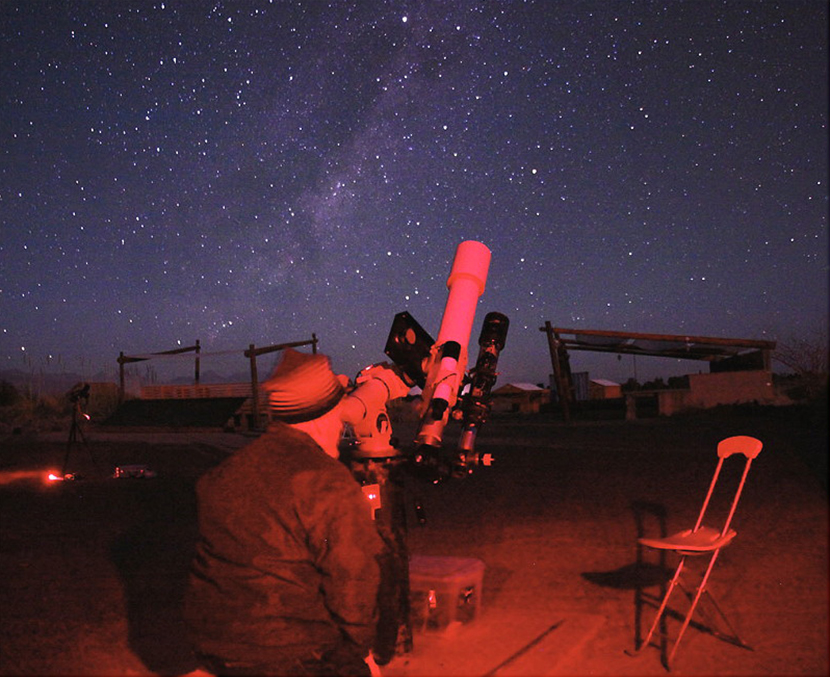
Star Party |

Setting up |
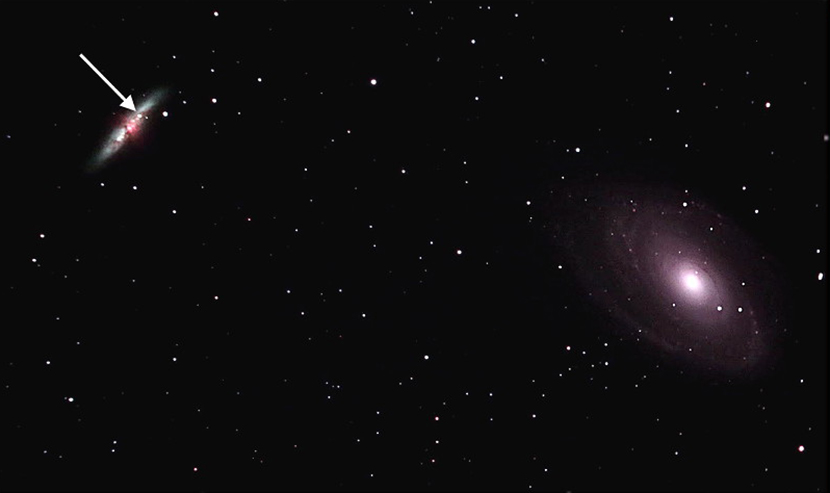
Supernova January 23,2014 |
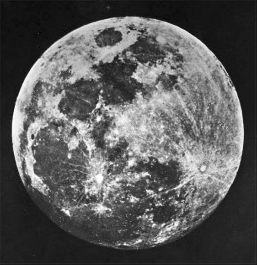
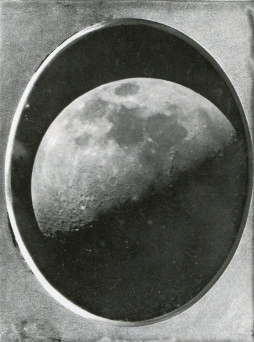
Figures 1 and 2
The first daguerreotype images of the Moon taken by J.W Draper in 1840 (above) and by J.A. Whipple (right) in the 1850s. |
 |
Astrophotography progressed rapidly thereafter, as both photographic methods and telescopes improved markedly. Emulsion-based imaging continued well into the 20th century, but in the 1970s the first CCD cameras were developed by astronomers and gradually replaced film and photographic plates. Today electronic and digital cameras are the norm and virtually all astronomical imaging, including lunar, solar, planetary and deep sky, is done with digital devices. These include CCD cameras, web-cams, DSLR cameras and even smart phones.
Solar system objects are usually imaged by web cams and cameras capable of taking hundreds of short exposures in just a few minutes. The resulting movie-like sequences are then aligned with software like Regitax and only the best images are stacked and combined for further processing. This approach helps to minimize the negative effects of atmospheric turbulence (seeing) and also increases image contrast and sharpness. Some remarkably high-resolution solar system images have been obtained this way, many by amateurs with modest sized telescopes.
Deep-sky imaging is done in three main ways. Professional and advanced amateur astronomers generally use monochromatic CCD (Charge Couple Device) cameras and selected color filters. This is a powerful method that provides the highest quality images and can be used for scientific purposes as well. Increasingly now color CCD cameras are also being marketed for those interested in direct color imaging.
Many beginners and advanced amateurs prefer using DSLR (Digital Single Lens Reflex) cameras because they are generally easier to use and provide immediate results. Spectrally modified DSLRs have become increasing popular as well, because they have much greater red sensitivity than off-the-shelf models and can also be coupled with narrow band pass filters. The latter exclude most ambient light pollution and increase sensitivity to H-alpha, H-beta and OIII, all very important astronomical wavelengths.
Since deep-sky objects like nebulae, clusters and galaxies are usually quite faint, they require exposure times ranging from a few minutes to several hours. Because of this, telescopes must be mounted solidly on polar-aligned equatorial mounts or computer controlled altazimuth mounts. Moreover, because the Earth rotates about its axis, telescopes and imaging equipment have to be rotated in the opposite direction to follow the apparent motion of the stars. In addition, since no telescope mount tracks perfectly, even very small tracking errors must be corrected during the exposure. This process used to be very tedious in the past but is less so today thanks to computer controlled mounts and dedicated autoguiders.
The easiest type of deep sky imaging is to mount a camera “piggy- back” on a properly aligned and tracking telescope or dedicated star tracker device. This is particularly worthwhile with modern DSLR cameras and interchangeable lenses. Using wide angle lenses (fish-eye to 35 mm), you can obtain stunning vistas of the Milky Way, while medium focal length (50-200 mm) lenses are great for closer up shots of many dark and bright nebulae.
Deep-sky photography with a typical amateur telescope (4 to 10 inch aperture) is considerably more difficult but also most rewarding. Again image stacking is the key to spectacular deep-sky images. Typically, imagers will take several 5-10 minute exposures of an object and then stack the images using any number of dedicated software applications. This practice reduces background noise, increases signal to noise ratios, and greatly enhances image contrast.
There are a number of excellent books, magazines and CDs available today to help get you started in astronomical photography. One of the best is The Backyard Astronomer’s Guide by T. Dickinson and A. Dyer. In addition to being immensely informative and user-friendly, this book is regularly updated on its excellent website: www.backyardastronomy.com/Backyard_Astronomy/Backyard_Astronomers_Guide.phpl.
Klaus Brasch
|
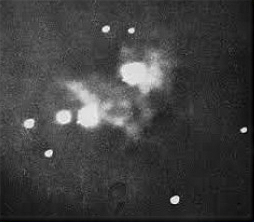
Figure 3 |
 |
|
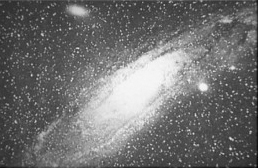
Figure 4 |
 |
Outreach || Flagstaff || Photos || Articles || Observing Sites || Weather
Coordinated Universal Time || National Weather Service
info@coconinoastro.org